How to DIY a Minions Party Cardboard Cut-Out
I love creating Fun Activities to keep Kids Entertained at Birthday Parties and Celebrations. Sometimes I have to put in a little time and effort to Create an activity, but the end products are always Worth It. When everyone is Smiling and Laughing, I know my Special Boy or Girl feels Extra special!
I focus a lot on games for the Guests to play, but every once and a while I Create a Decoration that Doubles as Entertainment.
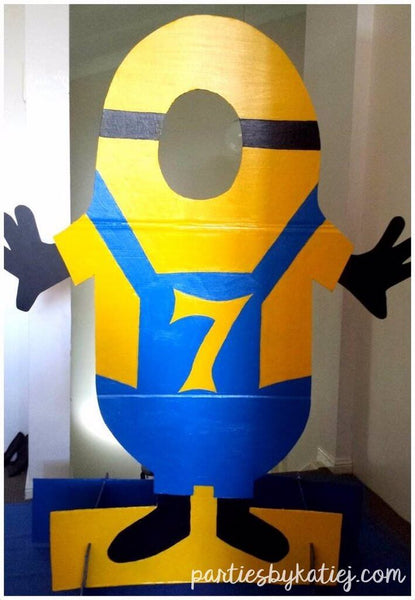
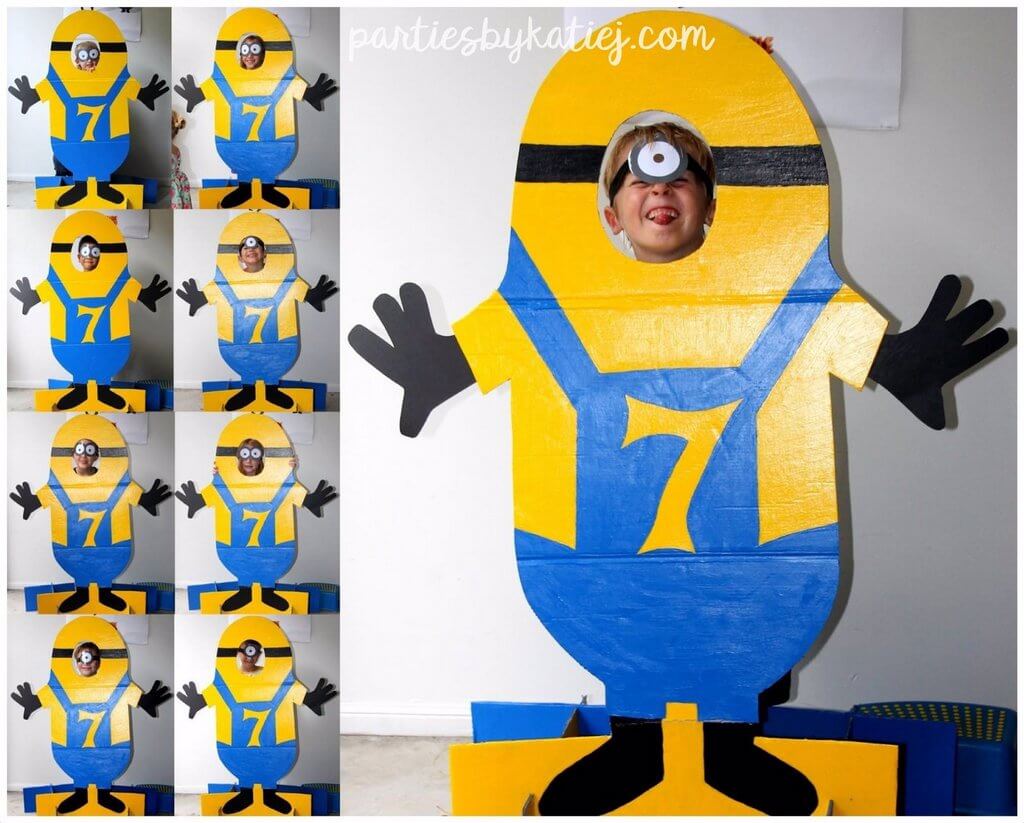
For my son Donte’s Minions Themed Birthday Party, I made a Fabulous Photo Prop in the shape of a Giant Minion with a cut out face, so the Kids could get their Pictures taken as a Minion throughout the celebration. This Minions Cardboard Cut-Out was one of the Coolest Pieces I have made.
It was Big, Colourful, and stood on its own as an Amazing Minion-Themed Centrepiece. The Kids loved getting their photo taken in the Minion, so I was so glad I made it for Donte’s birthday celebration.
And because it was completely DIY, it’s something that anyone could replicate for their own Minions Party.
How to Make a Minions Cardboard Cut-Out at Home
Creating a Minions Photo Prop Cut-Out isn’t particularly complex, but it does take a little time to cut, assemble, and decorate. Fortunately, I didn’t need many supplies or fancy skills! Most of the supplies were items I already had, so rest assured it won’t take much money or searching to gather everything you need to Do-It-Yourself.
Here’s my step-by-step explanation for how to DIY a Minions Party
Cardboard Cut-Out. I wish I had taken photos while I was going through each step and creating this Masterpiece, but I’ve done my best to explain below.
You can also look at my photo of the finished product for an idea of how the Minion should look when you’re done.
What You’ll Need:
- Large Removalist Box
- Stanley Knife
- Acrylic Paint – Blue, Black & Yellow
- Thin Paint Brush
- Packing Tape

Step 1:
Cut off the Top & Bottom folded parts of the Large Removalist Box using a Stanley Knife. Save these Off cuts of Cardboard as they will be used later.
Step 2:
Cut down one side/length of the box, so that it could be folded out in it’s largest form.
Step 3:
Trace the Minion shape in Pencil onto the Cardboard. Do not include the Hands, since these can be created with the off cuts later. At the top of the feet you want to extend your trace line to the edge of the Cardboard. This is so that a Base can be created to Stand the Minion upright.
Step 4:
Once you have drawn your Minion shape, cut around the edges carefully with a Stanley Knife. I used a Breadboard underneath so as to not mark the Surface below.
Step 5:
Using Packing tape secure some cardboard offcuts to the folds in the cardboard so that your Minion does not Bend.
Step 6:
Using a Pencil draw the Minion’s Overalls, Feet and Eye Piece.
Step 7:
Draw an Oval for where Faces will be inserted and cut with a Stanley Knife.
Step 8:
Using a Stanley Knife Cut 2 Slits in the Base. Slide some Cardboard Offcuts into those slits to secure the base so the Minion can stand. You may also need another piece of Cardboard at the Back with slits to secure the Minion some more.
Step 9:
Cut some Minion Hands from the Cardboard offcuts and attach with Packing tape to the Minion’s Arms.
Step 10:
Last but not least Paint your Minion with Acrylic Paint.
Doesn’t he look Fabulous?!
I even made a Minion Eye prop for the Kids to wear when they posed for their Photo Opps! Their fun faces made Perfect Mischievous Minions!

Adapt for Any Theme
As you can probably see, the basic idea of the Minion Cut-Out is that I used a really big piece of cardboard, reinforced it so it wouldn’t bend too much, and created a base so it could stand on its own.
I think it works perfectly for a Minion, because there aren’t too many details to worry about when cutting or painting, and they’re pretty symmetrical characters, which makes it easier for the Photo Prop to stand up.
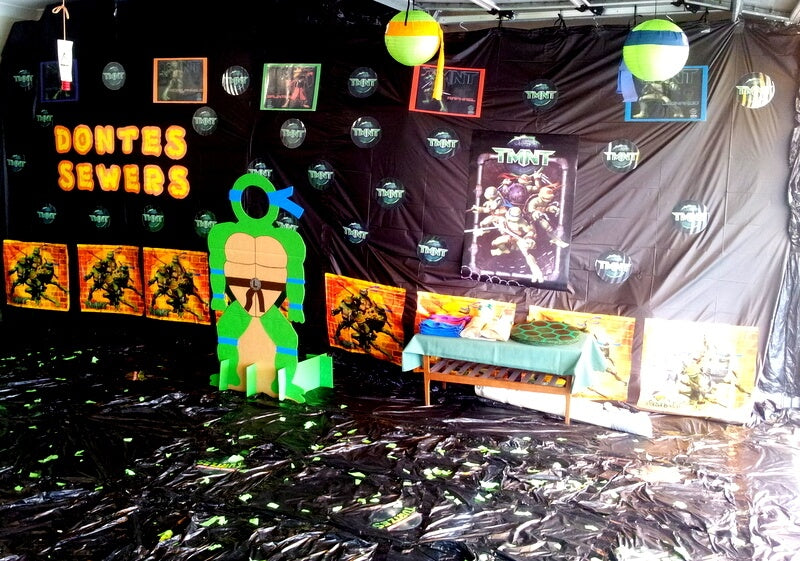
But you could take my DIY Cut-Out directions and adapt them for any Party Theme and Character! Check out the TMNT Cardboard Cut-Out that I made for Donte's Teenage Mutant Ninja Turtles Birthday Party, a year earlier.
Personalised Minions Party Decorations
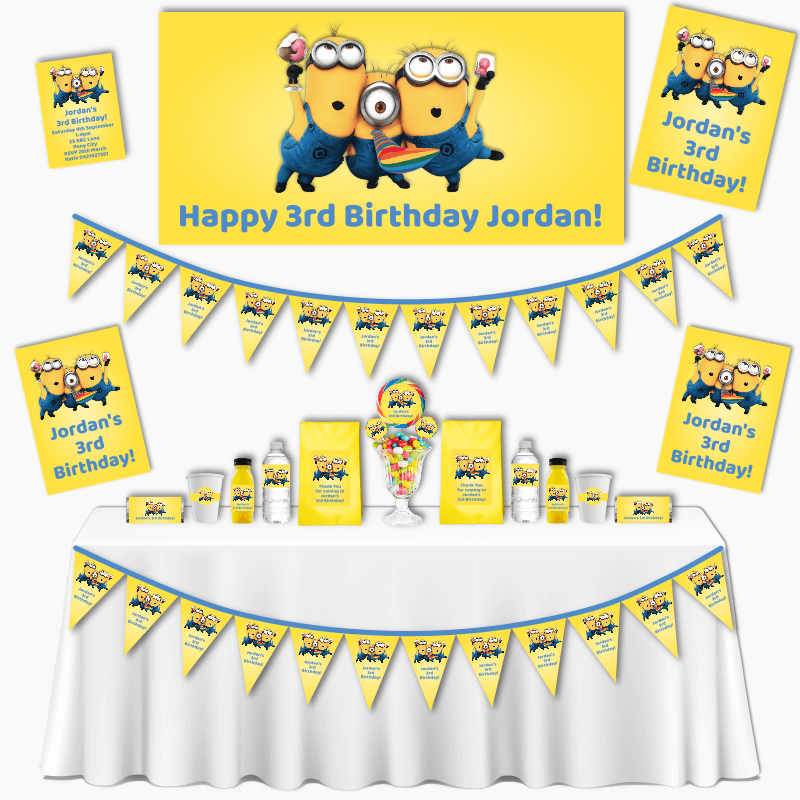
If you have a Special Boy or Girl who Loves the Minions as much as Donte and his Party Guests, you’ll love our personalised Minions Party Decorations!
We have 3 x Fantastic Minions Birthday Party designs over at Katie J Design and Events. They’re Perfect for Girls, Boys, Twins, Siblings & Joint Birthday parties. The Minions theme is super versatile and so much fun.
Looking for more Party Ideas or Inspiration? Parties by Katie J is where you will find Helpful Advice on How to Throw a Great Party that Everyone Loves! We will be Sharing Easy and Delicious Party Recipes along with some Amazing DIY tips for Creating a Fun Celebration. Subscribe to our Newsletter to get Updates and Special Offers.


Leave a comment (all fields required)